Replacing a Quick Lace lace

A guide to replacing your laces? Or in this case the Quick Lace of a walking shoe. Admittedly, it won't be very difficult, but there are a few things you have to take into account.
Materialien

Warning: any repairs done are at your own responsibility. See terms of use.
Removing the loops


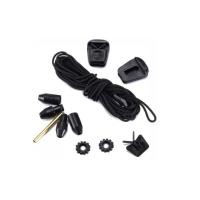
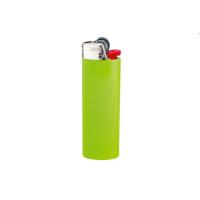
Some shoes use the loops that are standard on both sides of the laces in the Salomon Quick Lace Kit. We don't need those loops for the shoes in this manual, so we'll cut them off. To prevent the ends from fraying, briefly hold a flame under the lace.
Lacing the new Quick Lace laces


You can easily thread the new laces through the loops of the shoe using the supplied plastic sleeve. You first put it through the loop of the shoe, after which the lace simply slides through the sleeve. Once the laces are through all the loops of the shoe again, cut the laces to size.
Installing the buckle


Thread both ends of the laces through the buckle mechanism. To get the laces through the plastic mechanism, push the slider back a little.
Connecting the Quicklace laces


To connect the ends of the laces neatly together, the packaging of the new laces contains two plastic parts that can be clicked together. First thread the ends through the two plastic pieces. Then tie a knot in the two ends of the laces, as close to the end of the laces as possible. Pull the knots firmly. The knots should be as thin as possible so that it fits properly in the plastic part. Cut away any excess lace so that only the knot is at the end. Now you can click the two plastic parts together.
Result

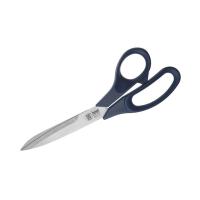
You can close your shoes tightly again and you are ready for your next walk. This manual shows that you can also easily solve minor defects yourself. New laces and scissors; it's all you need.
Und Fertig! Was für ein Gefühl!
Ist die Reparatur gelungen?


Supplies